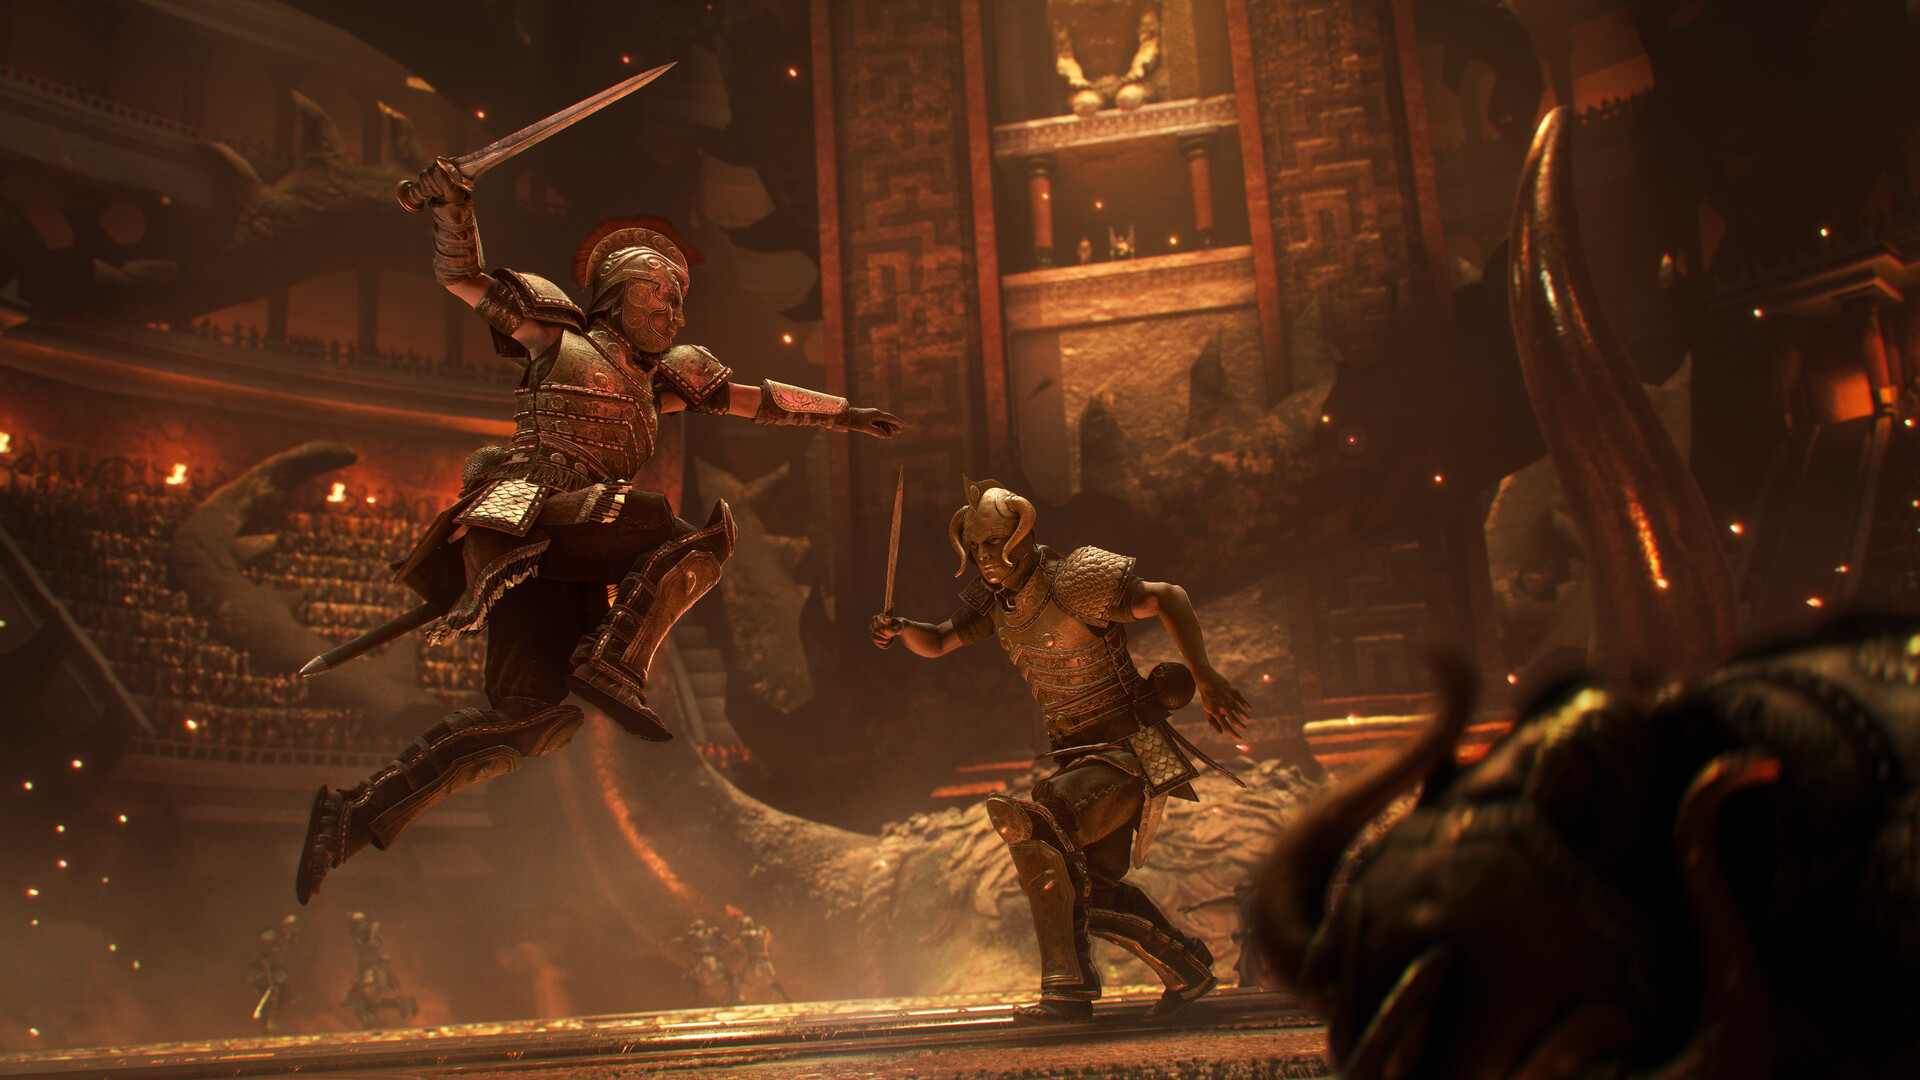
King Minos: dodge the red attacks, punish the axe
A focused Resonance Chapter 12 King Minos walkthrough for Ariadne: how to read the two phases, avoid fire trails, and use safe punish windows.
Updated · Steam community reports
King Minos is the Chapter 12 boss in Fading Light, and the most important preparation is understanding who you control. This is a memory sequence fought as Ariadne, not a late-game Sophia duel. Ariadne cannot parry red attacks. Bringing assumptions from Sophia’s mastery tree into this fight is the quickest way to take avoidable damage.
This guide concentrates on the King Minos encounter itself: recognizing the phase change, choosing when to dodge, and taking short openings after the axe commits. It does not assume that Sophia’s upgrades, inventory, or normal parry options carry into Ariadne’s section. The fight is easier to read when you treat it as a pattern test instead of a damage race.
Before you enter the arena
The boss sequence belongs to Theseus’s memory and places Ariadne in the fight. If you are preparing a Sophia build, keep in mind that this encounter does not reward a plan based on a mastery that only Sophia uses. The available walkthrough notes identify the key limitation directly: Ariadne cannot parry red attacks. That one rule should decide how you read the opening phase.
Use a calm camera and give the boss enough room to show an attack. A close camera can make it difficult to tell when a heavy swing is committed, while hugging the edge can leave you with no space to move once the second phase adds burning ground. Move deliberately and watch the weapon, not just the health bar.
If you are replaying the chapter, make sure you actually loaded Chapter 12, Fading Light. Resonance has fourteen chapters and uses Story Select for chapter replay after the credits; do not confuse the menu’s cleanup function with a live combat shortcut. The practical goal here is to learn the boss’s attack rhythm in the encounter rather than spend a replay hunting a collectible.
Phase one: evade first, then answer
The first phase leans heavily on red attacks. Red is the signal to dodge, not to attempt a parry. You do not need to prove that every incoming hit can be countered. Stay outside the swing, let the attack finish, and look for the recovery window before you move back in.
The axe’s heavy swing is the main opportunity to punish. After Minos commits and the weapon is stuck in the ground, step in for a short attack sequence, then disengage before the next move begins. The opening is valuable because the boss has spent the attack and is briefly occupied. It is not an invitation to keep swinging until your own animation finishes.
Use this repeatable loop:
- Keep Minos in view and leave yourself a clear direction to dodge.
- Read the red tell and evade instead of pressing into a parry.
- Wait until the heavy axe swing has fully committed and is stuck.
- Take a brief punish, then step away before the recovery ends.
- Re-center and watch for the next attack instead of chasing the boss.
The loop is deliberately conservative. A missed punish costs time; an incorrect parry attempt can cost health and make the next tell harder to read. If you are repeatedly hit while trying to extend a combo, shorten your punish. The fight rewards surviving the pattern more than squeezing one additional strike into every opening.
Phase two: respect the burning ground
When phase two begins, the axe catches fire and attacks leave burning ground. That changes the arena as well as the weapon. A dodge that was safe in the opening phase can carry you into a fire trail if you roll without checking where you will land.
Keep moving, but choose the destination of each dodge. Watch where a heavy swing lands and avoid standing in the trail it leaves. Do not fight in the fire just because Minos is briefly recovering there. Circle toward clear ground, let the boss finish the attack, and then use the same brief opening after a heavy swing.
Getting behind Minos after a heavy attack is a useful position when the route is clear. The point is to let the committed swing carry past you and use its recovery, not to sprint through the weapon or across burning ground. If the arena is crowded with fire, prioritize a safe lane first. A clean reset is better than a rushed punish that leaves Ariadne trapped.
Common mistakes and corrections
Trying to parry every red attack. Ariadne’s limitation is specific to this sequence. Treat red as an evade signal and stop trying to reproduce Sophia’s red-parry mastery.
Attacking during the swing. Wait until the heavy axe is stuck or the attack has clearly ended. Swinging into an active weapon gives away the recovery advantage.
Dodging without checking the landing spot. Fire trails make the next position matter. Turn toward open ground and avoid rolling into the path of the previous attack.
Staying beside the boss after one hit. A short punish is enough to make progress. Leave before Minos begins another sequence; you can use the next recovery window.
Assuming this is a Sophia build check. It is Ariadne’s encounter. Upgrade planning for Sophia’s campaign does not remove the need to learn this memory fight’s dodge rhythm.
A simple retry checklist
If a retry ends quickly, change one habit at a time. First, stop attempting to parry red attacks. If you survive phase one but struggle later, check the direction of your phase-two dodges and avoid the burning trails. If you reach a heavy swing but trade damage, delay your punish until the axe is committed, take fewer attacks, and retreat earlier.
Keep the camera pointed at Minos during movement. Losing sight of the boss to run toward an imagined opening often causes a dodge in the wrong direction. Re-center after each punish and let the next tell come to you. That also keeps the phase transition from feeling like a surprise: once the axe is on fire, the ground itself becomes part of the warning.
How this differs from a full boss list
The all-bosses guide covers six major encounters in brief. This page gives Chapter 12 its own focused plan: Ariadne cannot parry red attacks, phase one emphasizes red swings, and the flaming axe in phase two leaves dangerous ground.
After the fight, return to your normal campaign plan. Sophia’s combat and mastery guides apply to her sections; King Minos is a specific memory encounter with different constraints. Keeping those two contexts separate makes it easier to understand why a reliable Sophia parry habit can fail in this room.
Quick answer
To beat King Minos in Resonance Chapter 12, dodge the red attacks as Ariadne, wait for the heavy axe swing to stick in the ground, punish briefly, and move away. In phase two, the axe catches fire and leaves burning ground, so keep moving toward clear space and do not attack from inside the trails. Ariadne cannot parry red attacks, so do not build the strategy around Sophia’s red-parry mastery.